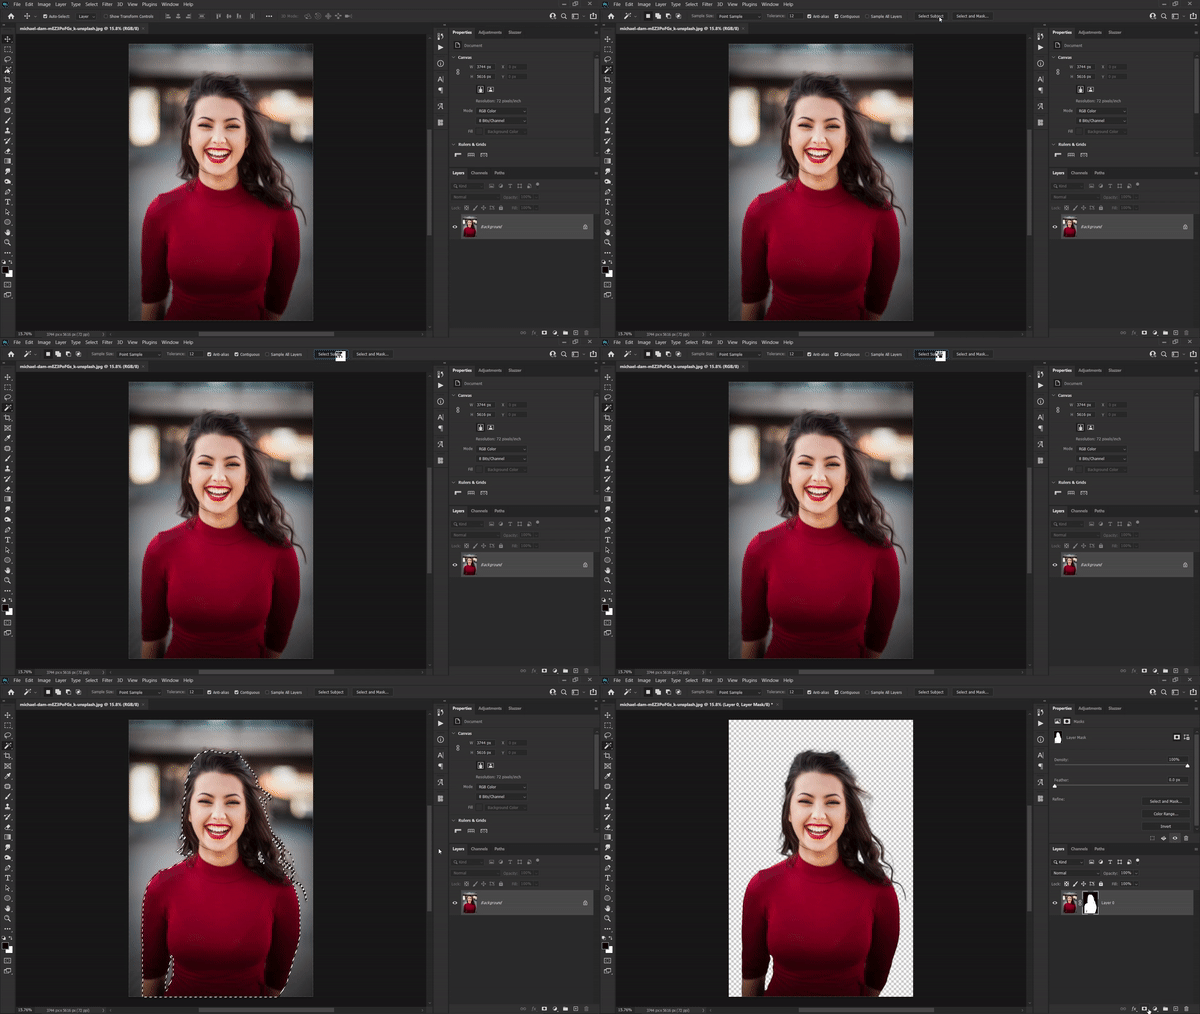
With background removal, photo studios can place products in front of more pleasing backdrops, businesses can create leaflets from images of people and products, while hobbyists can craft greeting cards and design memes. Product optimization is a main priority in today’s online world to increase sales. However, to fabricate such exciting visuals, you must isolate the subject to put it in front of a new background.
Using photoshop to remove the background of photos is simpler and easier for photos with solid background or more single color, but for photos with more complex edges, using photoshop will take a lot of time to process them to achieve the desired removal effect. We suggest you to use imgkits to remove photo backgrounds, its smart and fast photo background removal feature is very powerful, you just need to upload photos to get the processing results quickly, no need any professional photo processing skills, and it also supports multiple batch processing.
Methods for removing backgrounds from photos using photoshop.
Method 1: Use the background eraser tool to remove the background of the photo
Photoshop is a savior when it comes to removing image background. The Background Eraser Tool is like a combination of the Eraser Tool and the Quick Selection Tool. This tool works by sampling the color at the center of the brush while deleting the pixels of similar color as you move the mouse. To use this tool, follow the below-mentioned steps.
Step 1.Start with opening the image
Step 2.Find the Background Eraser Tool in the Toolbox. It may be hidden in the Eraser submenu
Step 3.Ensure that the brush is the correct size. While a larger brush is quick, tight spaces may require precision; hence the smaller brush size
Step 4.To find edges, set limits on the Menu
Step 5.Now, place the center of the brush over the color you wish to remove. You will get rid of matching hues within the tolerance
Step 6.By default, the Background Eraser is set to Continuous sampling. This implies that it will erase any matching color that crosshair hit upon. In case you have numerous hues in the background, you must keep sampling and deleting them. However, if you have a single hue such as sky blue, change to Once.

Method 2: Use the Quick Select tool to remove the background of the photo
It’s hard to imagine the subject of a photo surrounded by a completely different background. Before you place the subject into a new and attractive background, you must remove the existing background of the image. Background removal may seem like a difficult task, but it isn’t with the Quick Selection Tool. This tool is most suitable when there is a clear difference between the foreground and background. The Quick Selection Tool is hand down, one of the best ways to remove image background. Besides, it is super easy to use.
Step 1.open the image in Photoshop
Step 2.To remove the image background, select the ‘Quick Selection Tool’ from the tools panel. In case you can’t find it, look for it nested in the Magic Wand Tool
Step 3.In the options bar, check Auto-Enhance, which should give smooth, high-quality edges to the image
Step 4.Now, click the button and move the pointer to the desired area. Quick Selection will find tones that match the Selection until it finds an edge
Step 5.You can also subtract from the Selection using the Option key or Alt key and move over to the section you wish to deselect
Step 6.To deselect an area, you can also change the tool to deselect (minus) in the menu bar
These are some of the ways and techniques to remove backgrounds from photos using Photoshop, you need to spend a lot of time to learn and use Photoshop software techniques to get the processing results you want. But with imgkits online processing there is no such problem, it uses artificial intelligence AI processing technology, you just need to upload your photos with your hands and you can quickly get the perfect background removal effect in 10 seconds.
