Remove the background of a photo in 10 seconds: a quick guide to cutout
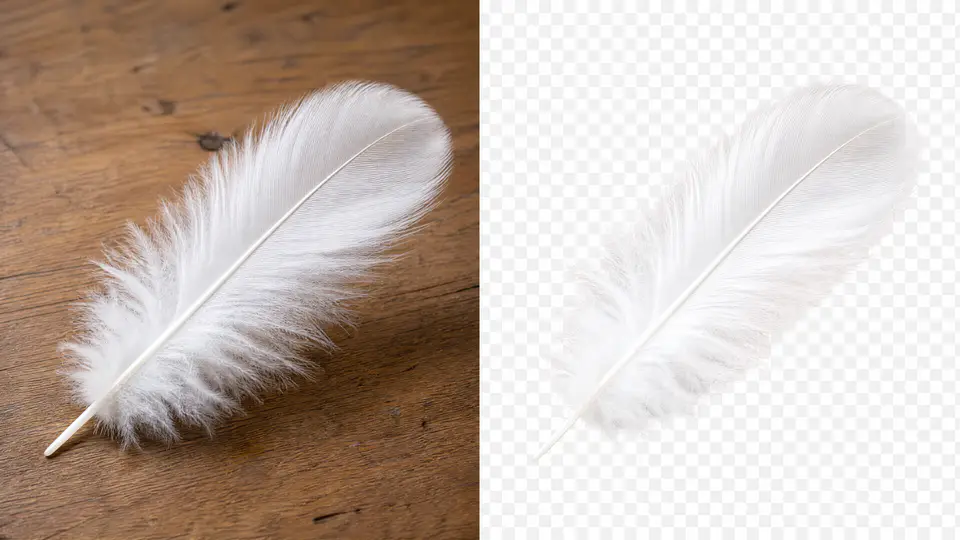
Removing the background of a photo is useful whenever the subject is good but the scene behind it is distracting. A clean cutout can turn a quick phone photo into a profile image, product asset, presentation graphic, or design element that is easier to reuse.
With the Imgkits background remover, you can remove a photo background online without opening Photoshop or manually drawing around the subject. Upload the image, let AI detect the main subject, then export the result with a transparent, white, or changed background.
What Makes a Background Easy or Hard to Remove?
Some images are simple: the subject has clear edges, the lighting is even, and the background is not too busy. Others are harder because the subject blends into the scene or contains small details such as hair, fabric, glass, shadows, or transparent materials.
- Easier photos: product shots, portraits with contrast, objects on plain surfaces.
- Harder photos: low-resolution images, busy backgrounds, motion blur, similar subject and background colors.
- Worth reviewing: hair, fur, lace, glass, handles, shadows, and fine edges.
How to Remove the Background of a Photo
- Open the Imgkits background remover.
- Upload the photo you want to cut out.
- Wait while the tool detects the main subject and removes the background.
- Choose whether you want a transparent, white, or replaced background.
- Preview the edges, then download the final image.
Choose the Right Output for Your Use Case
Transparent Background
Use a transparent PNG when you want to place the subject on another design later. This is useful for website graphics, product cards, thumbnails, slide decks, and social media templates.
White Background
Use a white background when you need a clean product photo, document image, profile picture, or marketplace-style listing.
Changed Background
Use the background changer when the original scene is poor but the subject should appear in a new color, studio backdrop, or simple branded setting.
Common Mistakes to Avoid
- Using a blurry source: sharp source photos produce cleaner cutouts.
- Cropping too tightly before upload: keep the full subject inside the frame.
- Ignoring edge details: always zoom in around hair, fabric, glass, and shadows.
- Mixing styles across a set: use the same background type for related product or profile photos.
- Keeping old distracting scenes: if the background weakens the image, replace it with something simpler.
Before and After Checklist
| Check | Why It Matters |
|---|---|
| Subject is fully visible | The tool can only preserve what is present in the source photo. |
| Edges look natural | Clean edges make the cutout look intentional instead of pasted. |
| Output format matches the job | PNG is best for transparency; solid backgrounds are simpler for listings. |
| Background style is consistent | Related images look more professional when they share the same visual rules. |
FAQ
Can I remove the background from a photo online?
Yes. Upload the image to Imgkits, let AI remove the background, and download the result without installing design software.
Is transparent background always the best option?
No. Transparent output is best for reusable design assets. A white or changed background may be better for product listings, resumes, profile pages, and marketing images.
Will AI work on every photo?
AI background removal works best with sharp photos and visible subject edges. Very complex images may still need a quick manual review before publishing.
Final Thoughts
A photo cutout should make the subject easier to use, not just remove pixels around it. Start with the clearest source photo you have, remove the background, check the edges, and choose the output style that fits where the image will appear.