How to Remove Unwanted Shadows From Photos
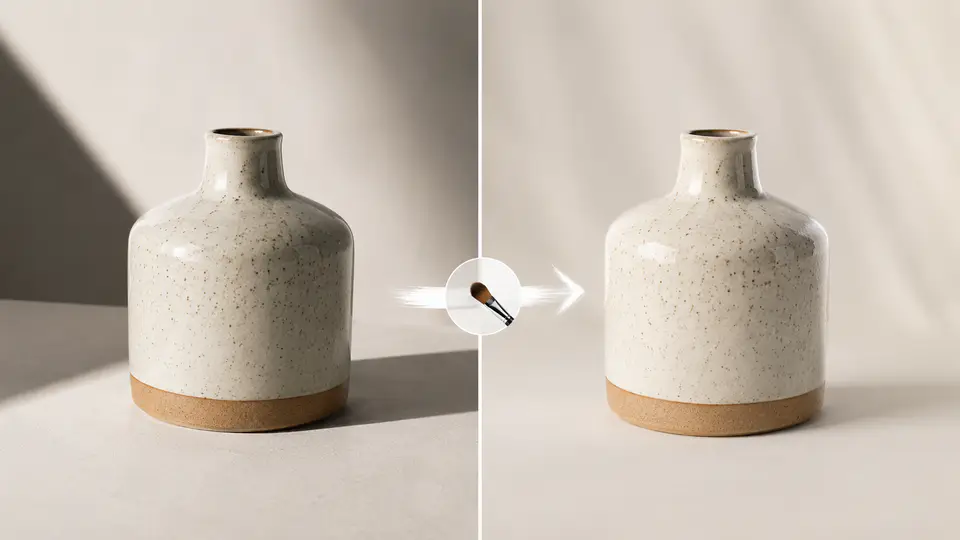
Unwanted shadows can make a good photo look uneven, hide product details, or distract from the main subject. Some shadows are useful because they give a scene depth, but harsh shadows, camera shadows, and dark patches often need a careful cleanup.
This guide focuses on permitted edits to photos you own or have permission to edit. For broad cleanup, use the remove object from photo tool. For precise repairs on a selected area, use Imgkits inpaint.
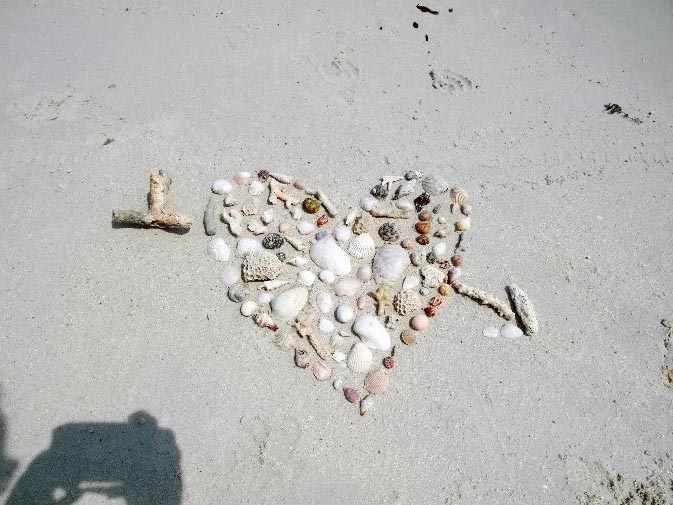
When Shadow Removal Works Best
Shadow cleanup works best when the shadow covers a background, wall, floor, product surface, or simple texture. It is harder when the shadow crosses faces, detailed hair, patterned fabric, transparent objects, or important document information. In those cases, use smaller selections and review the result carefully.
Step 1 Upload the Photo
Open the tool that fits the edit. Use remove object from photo when the shadow behaves like a distracting object in the scene. Use inpaint when you want more control over a small selected repair area.
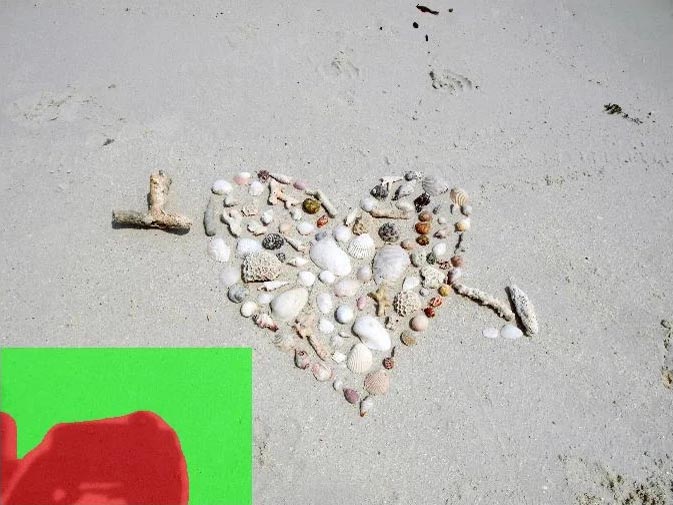
Step 2 Select Only the Shadow Area
Mark the unwanted shadow as tightly as possible. Avoid selecting clean edges, important facial details, product logos, or fine textures unless they are actually part of the shadow problem. Smaller selections usually produce more natural repairs.
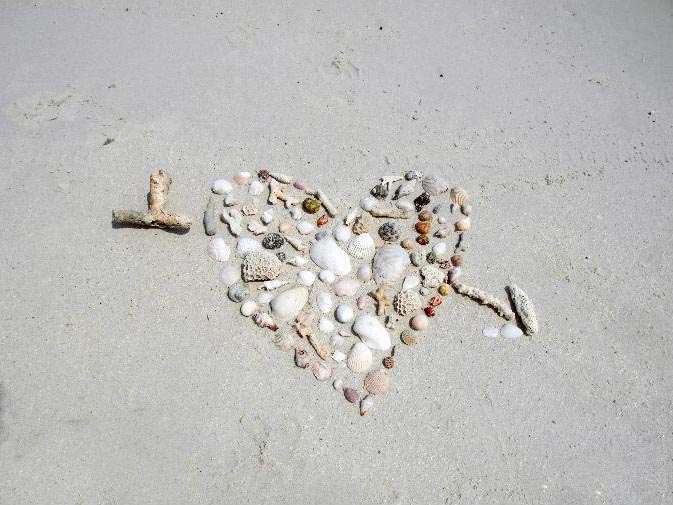
Step 3 Preview and Refine the Repair
Run the cleanup and compare the result with the original image. If the repaired area looks soft, smeared, or repeated, undo the edit and try again with a smaller selection. Complex shadows often need two or three light passes instead of one large pass.
Which Tool Should You Use?
| Shadow Problem | Recommended Tool | Why It Helps |
|---|---|---|
| Camera shadow on a flat background | Remove object from photo | Good for replacing a larger distracting area with nearby background texture. |
| Small dark patch on a product photo | Inpaint | Lets you select only the affected patch and preserve product edges. |
| Shadow over simple wall or floor texture | Remove object from photo | Works well when surrounding pixels provide a clean reference. |
| Shadow crossing a face or detailed subject | Manual review after inpaint | Requires careful selection because important detail can be changed. |
Practical Tips for Cleaner Results
- Keep the selected area as small as possible.
- Use multiple passes for long or uneven shadows.
- Zoom in to check edges, repeated textures, and skin details.
- Do not remove shadows that are needed for accurate product shape or scale.
- Keep a copy of the original image before editing.
Common Use Cases
Product Photos
For e-commerce images, shadow cleanup can make a product look more consistent across a catalog. Keep natural contact shadows when they help the product look grounded.
Real Estate and Interior Photos
Shadows from the camera, furniture, or window frames can distract from a room. Clean only the unwanted dark patches and avoid changing permanent room features.
Scanned or Archived Photos
Old scans may include dark corners or scanner shadows. Inpaint can help repair those areas while preserving the main subject.
FAQ
Can I remove every shadow from a photo?
No. Some shadows are part of the scene and removing them can make the image look flat or inaccurate. Remove only distracting or accidental shadows.
Why does the fixed area look blurry?
The selection may be too large or the background may be too detailed. Try a smaller selection and repair the area in several passes.
Should I use shadow cleanup for official or documentary images?
Be careful. Do not use editing tools to misrepresent important facts in legal, documentary, identification, or commercial proof images.
Final Thoughts
Removing unwanted shadows is mainly about careful selection. Use object removal for broader distractions, inpaint for precise repairs, and always check whether the shadow is accidental or important to the image.